Brief Description: Left wing skeleton prep part #5
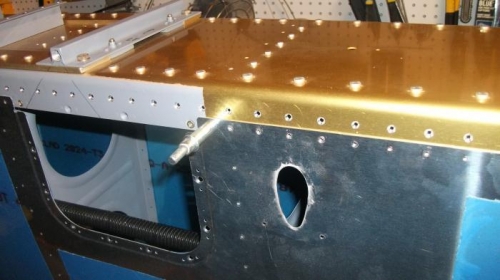
I was looking around tonight and noticed when I went in to work on installing the capacitive plates that the top and bottom skins weren't sitting flush with the spar flange on the right wing...so, I removed the top skins on the right wing and used a test piece of aluminim with a dimpled #40 hole...still sitting a little on the high side.
I used my countersink and adjusted it a few notches...that seemed to do the trick.
Spent the next hour re-countersinking each hole for both the top and bottom skins....it looks so much better. I also didn't finishing dimpling the ribs for the top side of the left wing, which I will completet in the morning. I'm not in much of a mood to get back on the tank just yet. As long as I'm doing something, all is good.
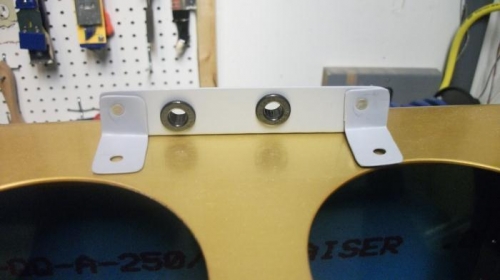
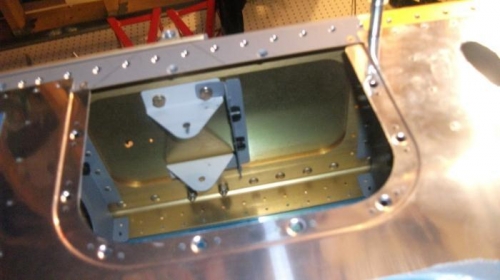
I also fabricated and installed the bracket for the pitot tube lines. Pretty simple really. Three pieces in total, the supports are drilled for a #12 hole for the bell crank bolts and two 7/16 th holes drilled to accomodate the snap bushing for the pitot and AOA lines. This will keep them out of the way and running under the aileron bell crank.
I got this idea from Jeff Mitchell and Steve Riffe. Thanks gents!